Managing s92 Letters
How to upload, organise, and track s92 further-information requests.
5 min readUpdated 2026-04-19s92 Response Builder
Uploading an s92 Letter
- 1Navigate to Compliance → s92 Inbox in the navigation bar.
- 2Click Upload s92 Letter in the top-right corner of the Inbox.
- 3In the upload modal: enter the project name, select the council, and set the date the s92 was received (this starts the working-day clock).
- 4Optionally enter the property latitude and longitude. This enables GIS context injection for AI drafting. You can find coordinates from LINZ Maps.
- 5Drop the PDF file into the upload zone or click to browse.
- 6Click Upload. The system will parse the PDF and create a letter card in the Inbox.
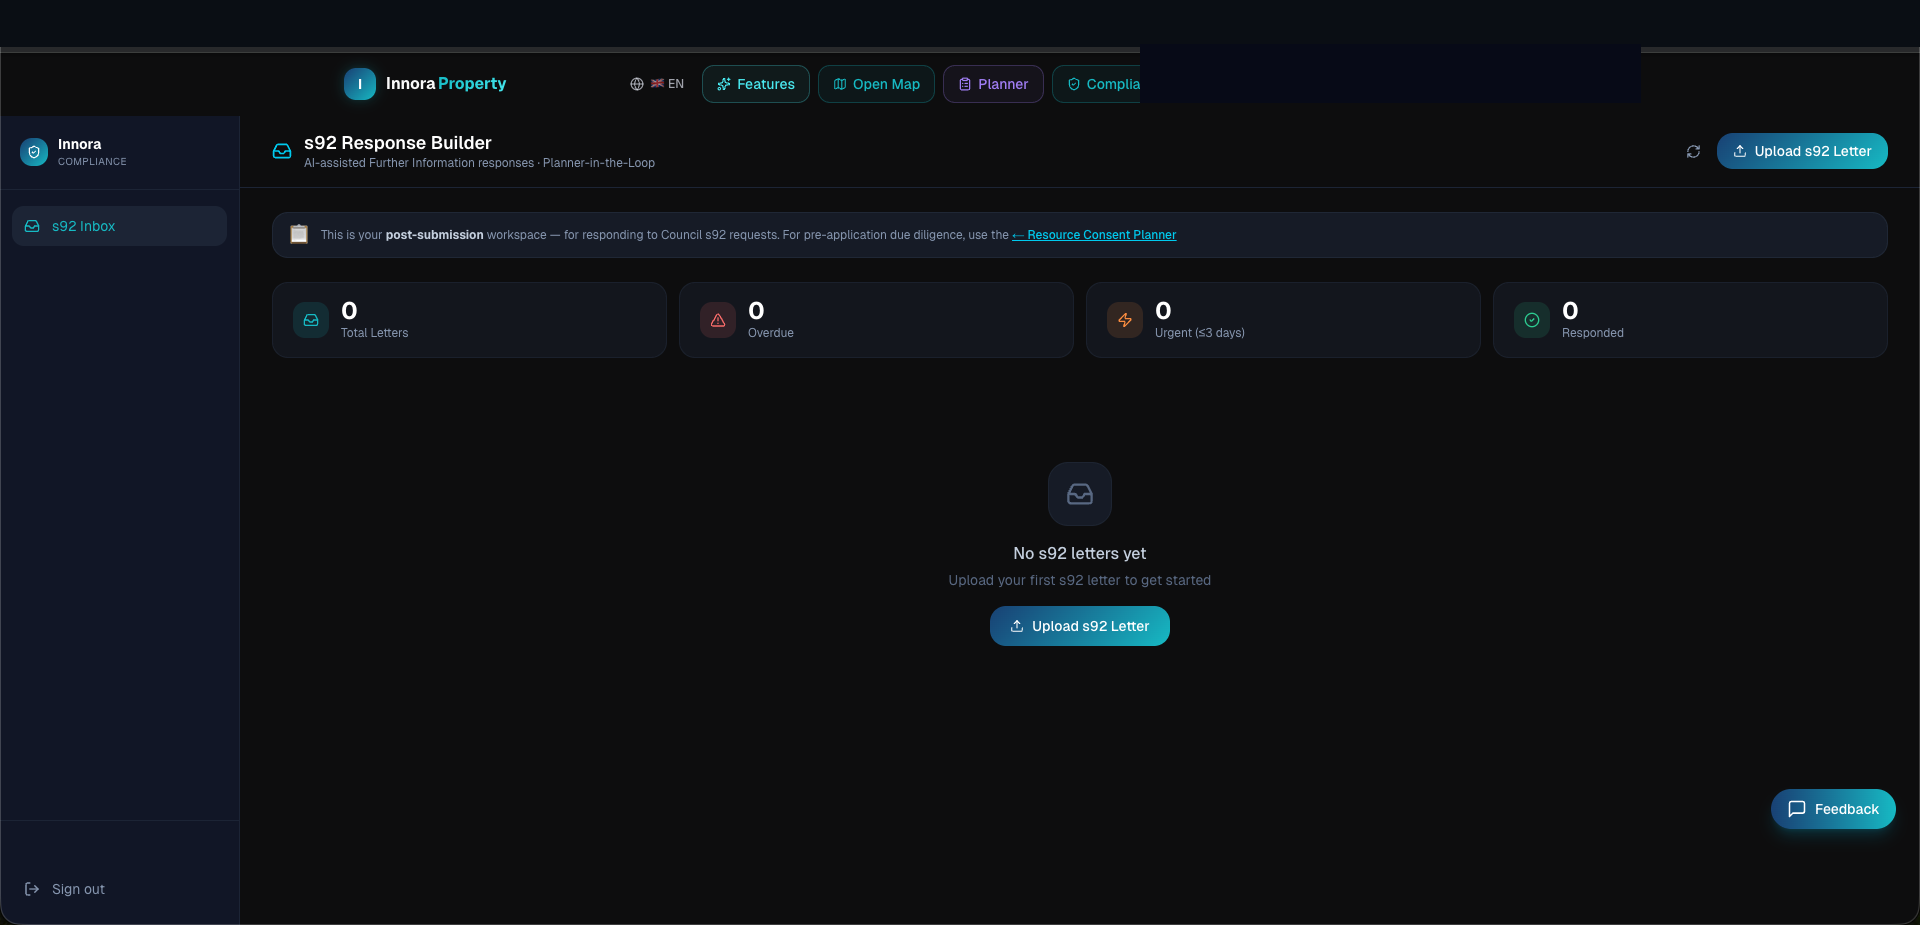
Inbox View
Each letter card in the Inbox displays:
- Project Name and council
- Deadline Status Badge — colour-coded by urgency: 🔴 Overdue / 🟠 ≤5 days / 🟡 ≤10 days / 🟢 On track
- Question Count — total number of council questions extracted from the letter
- Approved / Pending — count of sections reviewed and approved by the planner
- Open Response Builder — click to enter the two-panel editor
Organising Multiple Letters
Letters are sorted by deadline urgency by default. Use the search bar to find letters by project name or council reference number. Completed letters (all sections approved) are moved to the Archived view accessible from the top of the Inbox.
Council Reference
Enter the council consent application number (e.g., BUN60xxxxxx or LUC xxxxxx) in the project name field for easy cross-referencing with council systems.
Found an error? Open an issue on GitHub