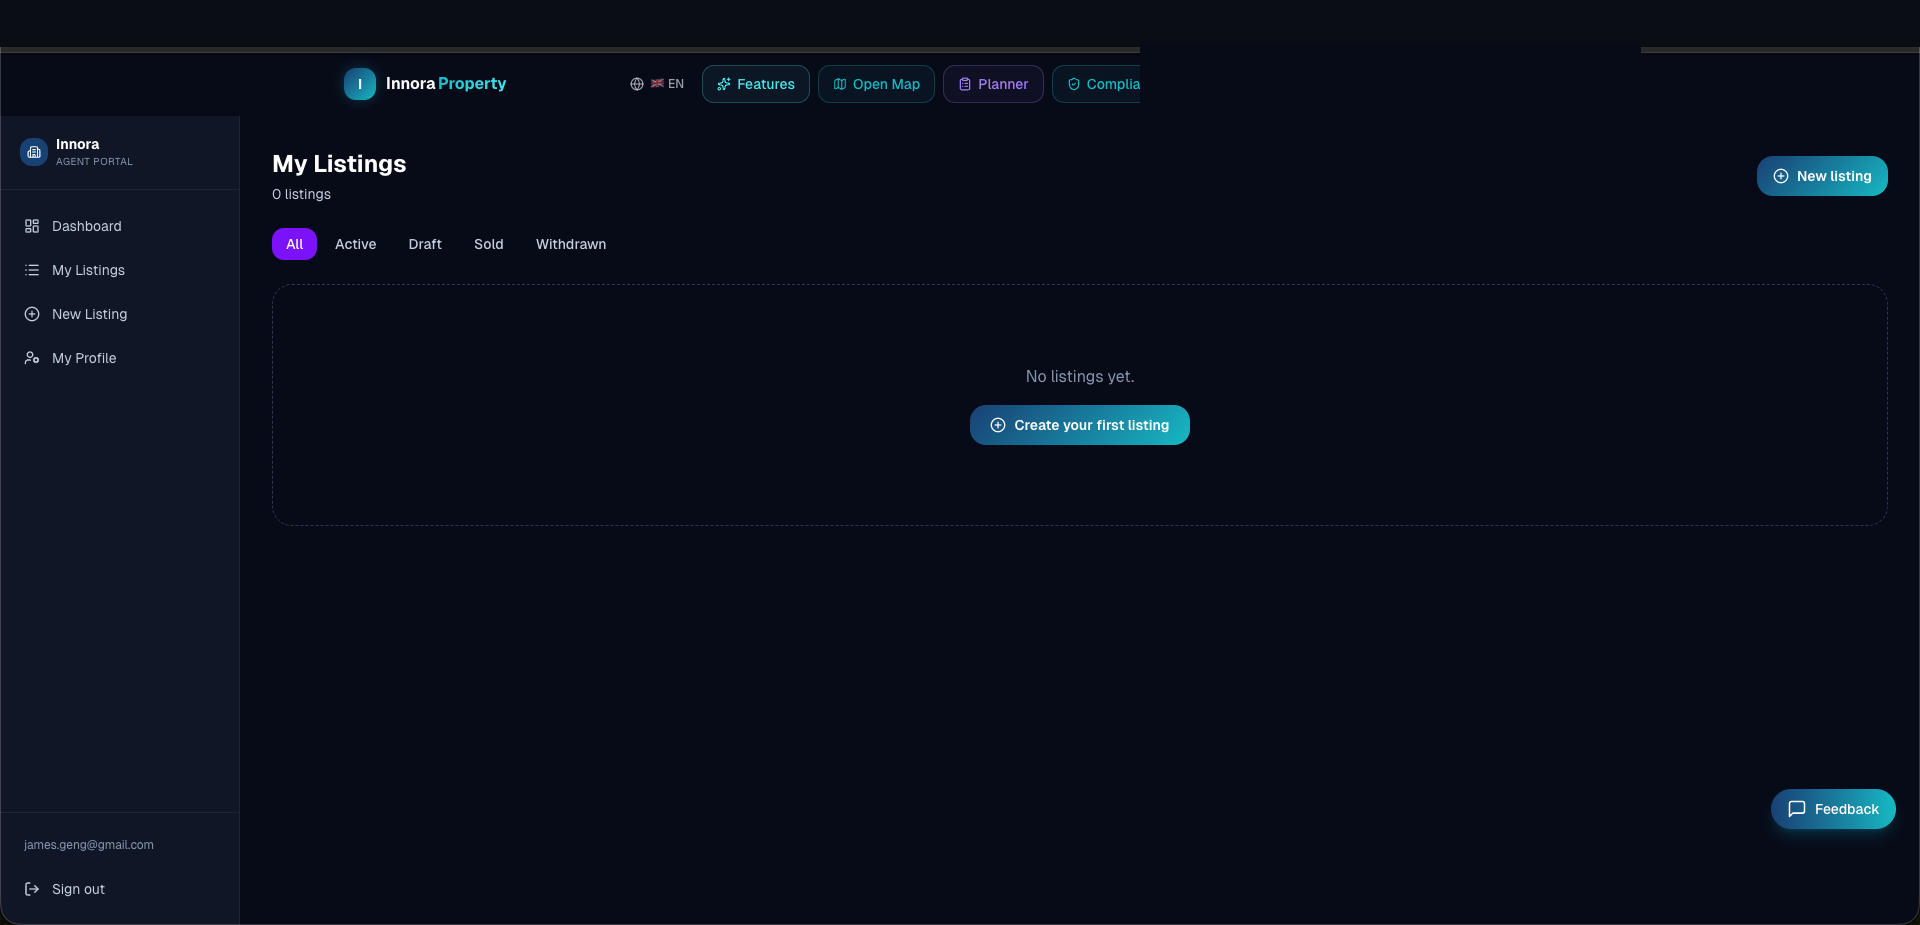
Listing Management
Creating, editing, and managing property listings through the Agent Portal.
5 min readUpdated 2026-04-19Agent Portal
Creating a Listing
- 1From the Agent Portal, navigate to Listings → New Listing.
- 2Enter the property address. The system will attempt to auto-populate available data from the property database.
- 3Complete the listing details: price, bedrooms, bathrooms, floor area, land area, and property type.
- 4Upload photos — drag and drop or click to browse. Photos are stored in Supabase Storage.
- 5Write a property description (or use the AI listing description tool — see next page).
- 6Set the listing status: Draft (not visible to the public) or Active (live).
- 7Click Publish Listing.
Listing Statuses
| Status | Visibility | Editable |
|---|---|---|
| Draft | Agent only | Yes |
| Active | Public | Yes |
| Sold | Public (with sold badge) | Limited |
| Withdrawn | Agent only (archived) | Yes |
Photo Management
Photos can be reordered by drag-and-drop. The first photo is used as the listing hero image. Recommended specification: minimum 1280 × 960 px, JPEG or PNG, maximum 10 MB per image.
Found an error? Open an issue on GitHub