Creating a Project
Step-by-step guide to setting up a new development project.
4 min readUpdated 2026-04-19Developer Projects
Creating a New Project
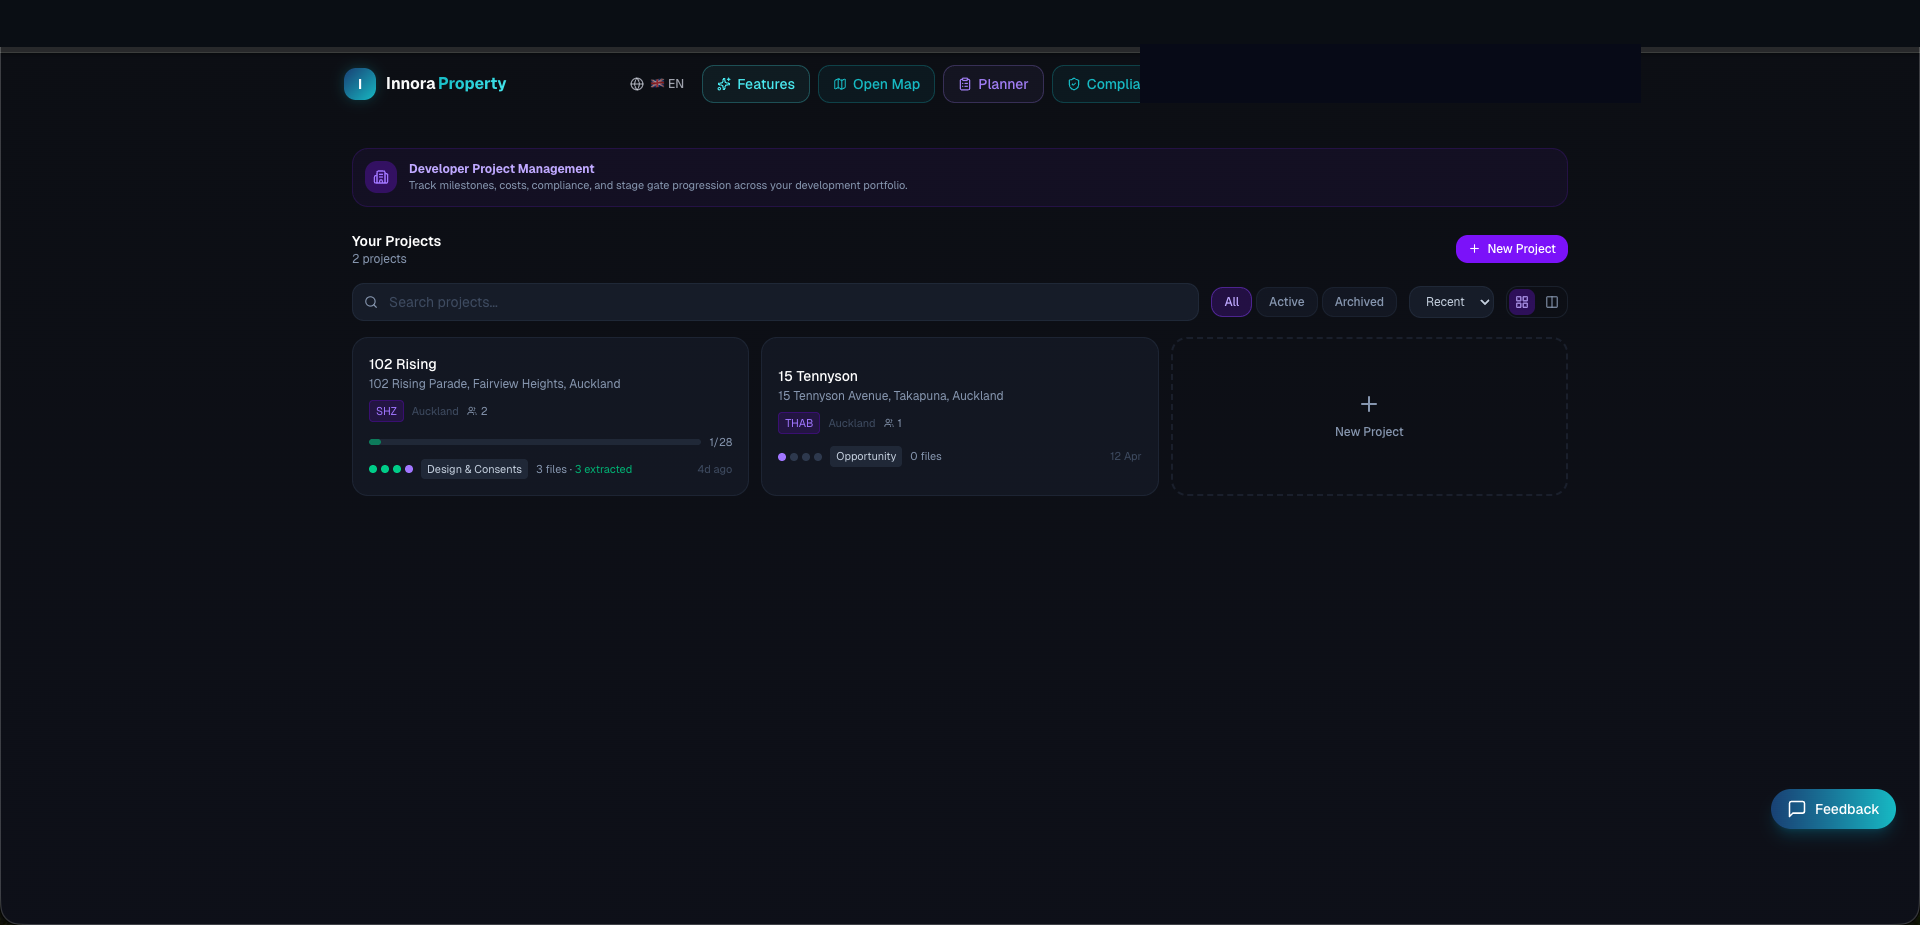
- 1Navigate to Projects from the top navigation bar.
- 2Click New Project in the top-right corner.
- 3Enter: project name, address, project type (residential / commercial / mixed use), and estimated start/completion dates.
- 4Optionally, link the project to a property record in the platform database using the address field.
- 5Click Create Project to proceed to the project workspace.
Inviting Team Members
- 1Open the project and navigate to the Members tab.
- 2Click Invite Member and enter the team member's email address.
- 3Assign a role: Project Manager, Site Manager, or Subcontractor.
- 4Click Send Invitation. If the invitee already has an Innora Property account, they are added to the project immediately. If they do not have an account, a pending claim invitation is stored — when they register with that email address, they are automatically granted project access.
Pending Invitations
Pending invitations appear in the Members tab with a 'Pending' badge. You can resend or revoke a pending invitation at any time. Subcontractors do not need a paid subscription to access the project — they receive limited access to their specific RFIs and payment claims only.
Project Settings
Project settings (name, dates, type) can be updated at any time from the ⚙️ Settings tab. Project deletion is permanent and requires explicit confirmation — all associated diary entries, defects, and documents will be removed.
Found an error? Open an issue on GitHub