Quick Start Guide
Get up and running with Innora Property in under five minutes.
4 min readUpdated 2026-05-11Getting Started
30-Day Free Trial — No Credit Card Required
Every new account starts on a full 30-day free trial with access to all Pro features. No credit card is required at sign-up. You will only be prompted to enter payment details when your trial ends or when you choose to upgrade.
Step 1 — Create Your Account
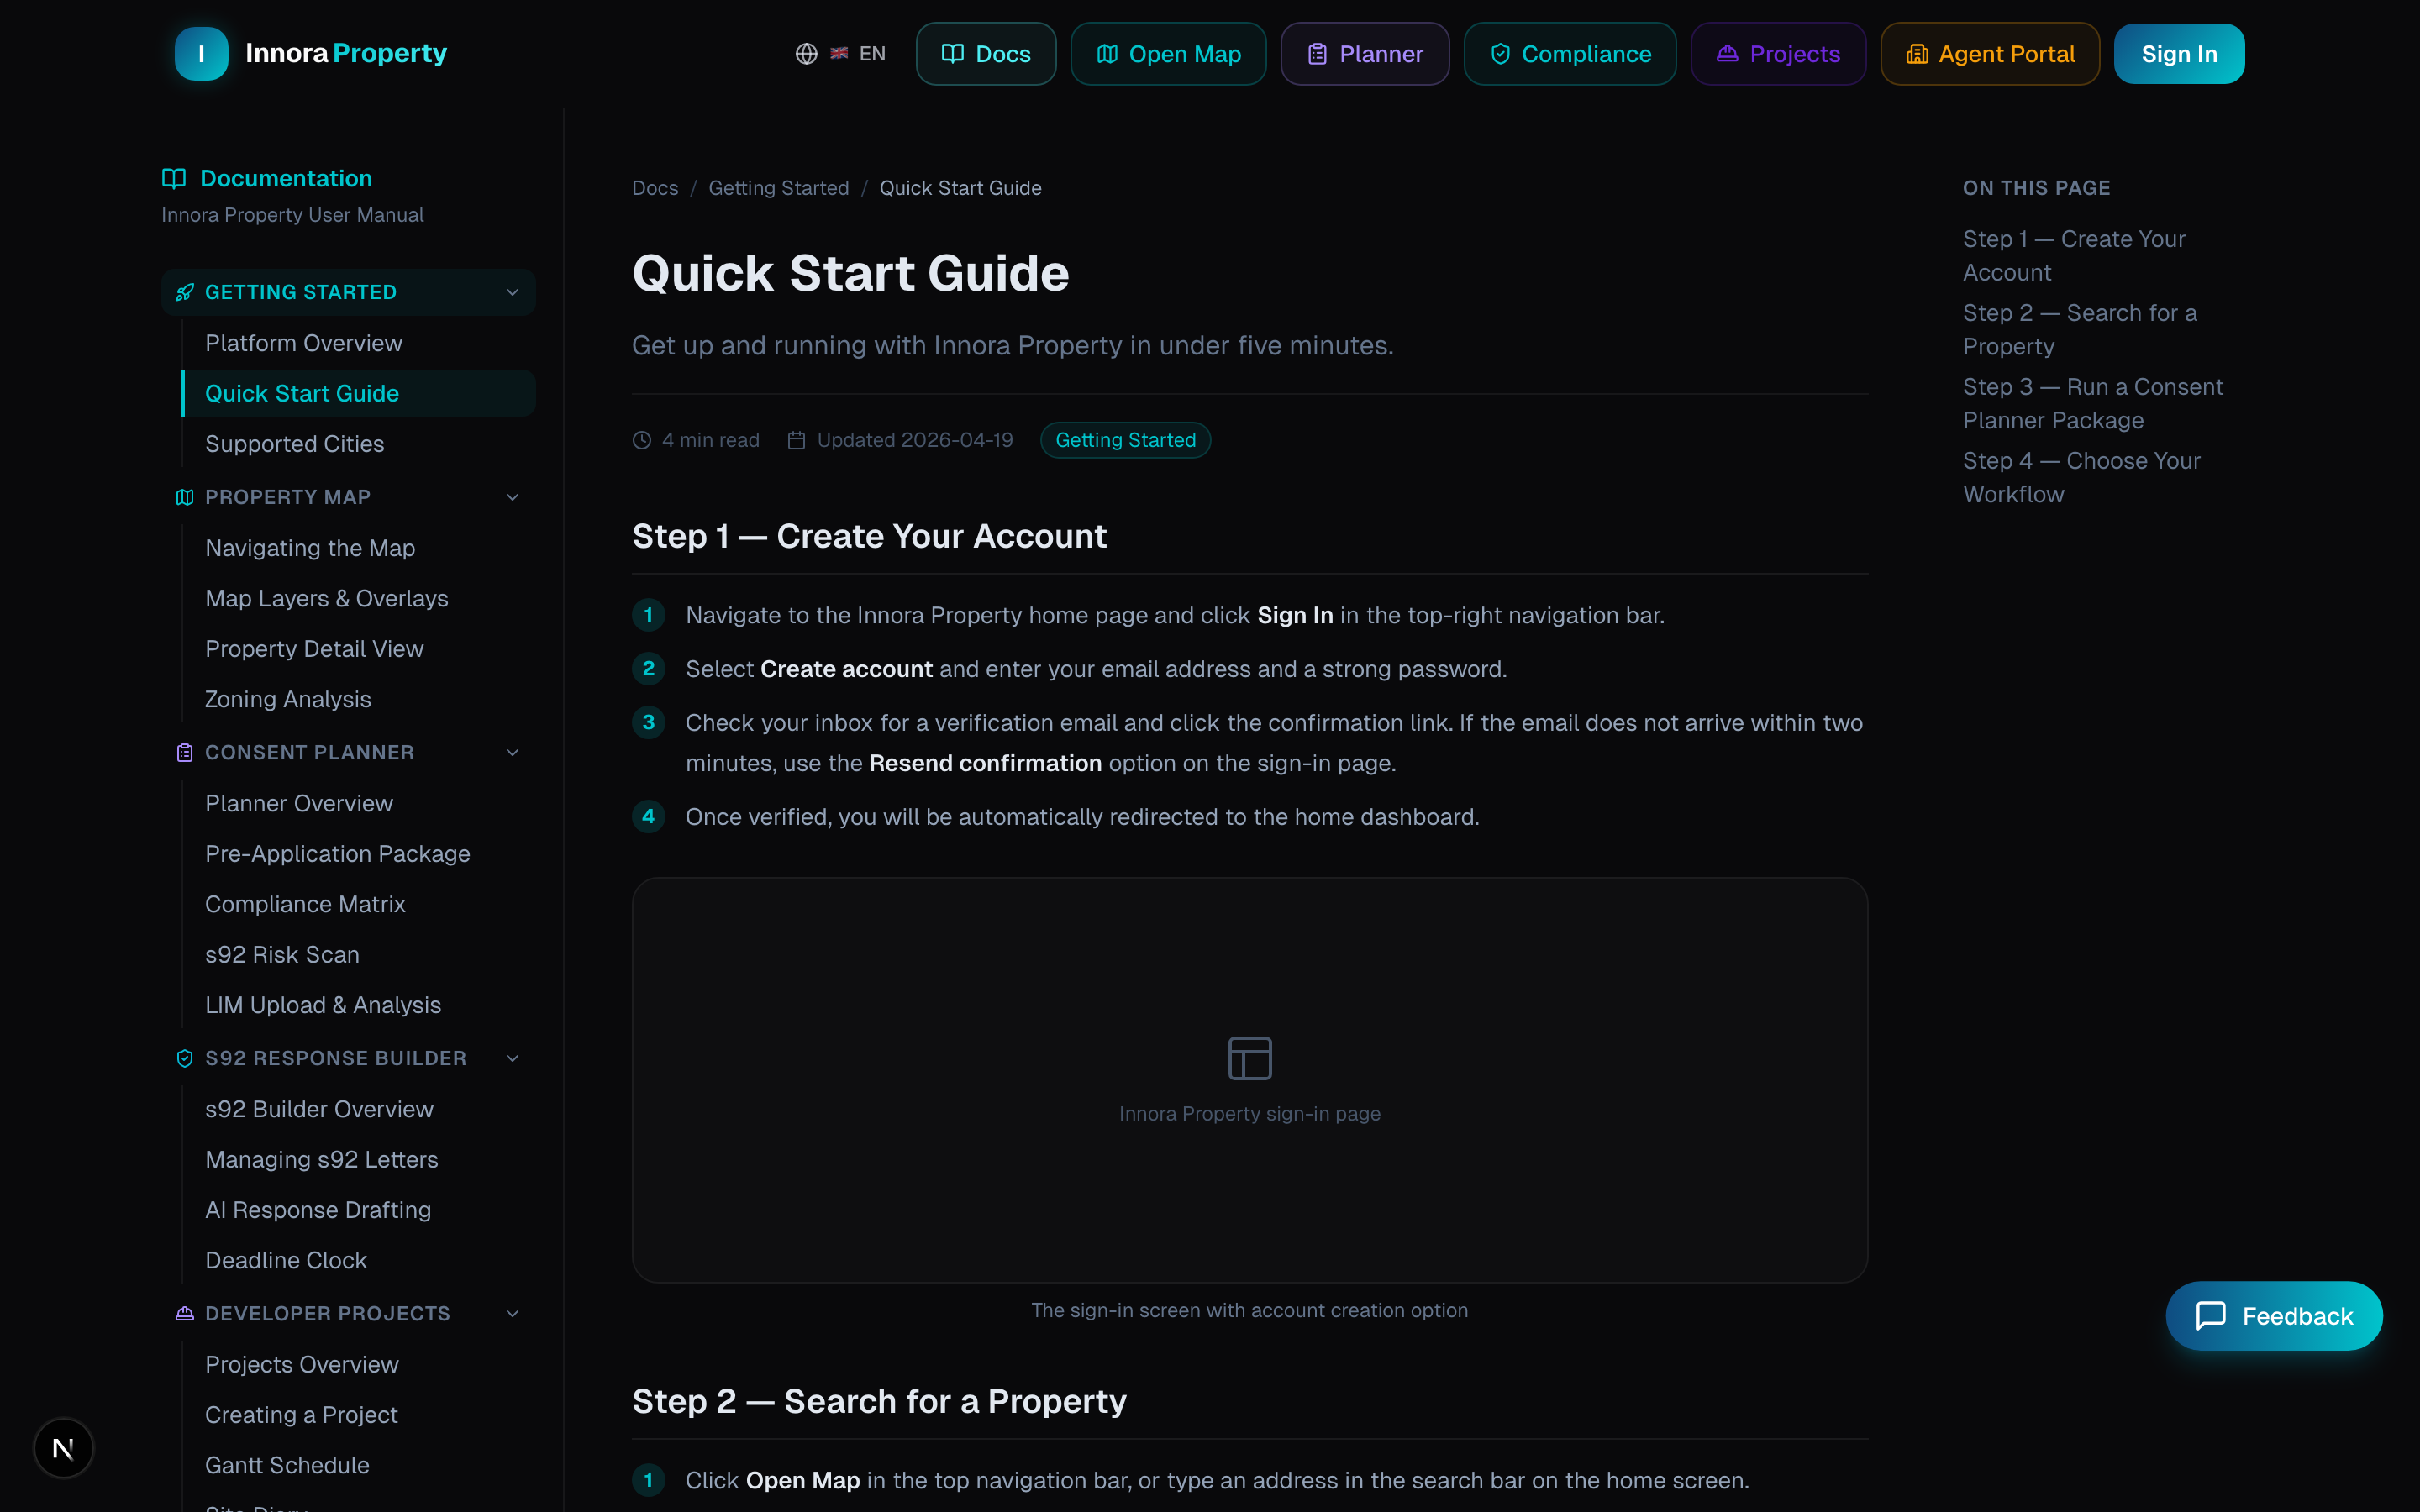
- 1Navigate to the Innora Property home page and click Sign In in the top-right navigation bar.
- 2Select Create account and enter your email address and a strong password.
- 3Check your inbox for a verification email and click the confirmation link. If the email does not arrive within two minutes, use the Resend confirmation option on the sign-in page.
- 4Once verified, you will be automatically redirected to the home dashboard. Your 30-day free trial begins immediately.
Step 2 — Search for a Property
There are two ways to search for a property on Innora Property:
- Navbar search bar — The search bar in the top navigation bar is available on every page. Type any NZ street address or suburb name and select from the autocomplete suggestions. The platform resolves the address and navigates you to the Property Map with that property highlighted.
- Map search — Click Open Map in the navigation bar, then use the search bar in the top-left of the map to enter an address or decimal-degree coordinates.
- 1Type an address or suburb into the navbar search bar (e.g., '14 Symonds Street, Auckland' or 'Ponsonby').
- 2Select the matching result from the autocomplete dropdown.
- 3The map flies to the property and opens the Property Detail panel on the right.
- 4Use the tabs — Overview, Zoning, Investment, History, Location — to explore different facets of the property.
Step 3 — Run a Consent Planner Package
- 1Navigate to Planner in the top navigation bar.
- 2Enter the property address or coordinates in the search field.
- 3Click Run Package to trigger a parallel data fetch from 9 council and spatial data sources.
- 4Review the resulting data card: zoning classification, active overlays, HAIL contamination status, infrastructure connections, and council valuation.
Pro Tip
Use the Pre-Application Package before any client meeting or feasibility call. It consolidates data that would normally take 2–3 hours of manual council GIS searching into under 60 seconds.
Step 4 — Choose Your Workflow
- Developer? Head to Projects to create your first project, set up the Gantt schedule, and invite subcontractors.
- Planner? Use the Consent Planner for pre-application research, then the s92 Response Builder to manage council further-information requests.
- Agent? Use the Agent Onboarding Wizard to set up your profile and first listing in under 5 minutes.
Found an error? Open an issue on GitHub